GlobalProtect Login Changes
The GlobalProtect client login has changed from prompting for a user’s NetID and now requires it in the format “NetID@colostate.edu”. The client will also use the new Duo Universal Prompt, a simplified and accessible Duo login experience. See the step-by-step guides below for details on the new process.
CSU provides secure off-campus access to on-campus resources via the GlobalProtect gateway, also known as a Virtual Private Network (VPN). GlobalProtect VPN provides a secure and encrypted tunnel between your device and the CSU network that enforces the use of recent, more secure operating system versions. The VPN is reachable via the GlobalProtect desktop client or via the web interface (Fort Collins: gateway.colostate.edu | Pueblo: pueblogateway.colostate.edu).
Installing & Using GlobalProtect
-
Connect via Browser or Install Desktop Agent – PC & Mac
Option 1: Connecting Your Windows or Mac via Browser
Note: Accessing the GlobalProtect VPN through the browser will only grant access to a limited number of on-campus resources. For access to all applications that require the VPN, including Oracle HR and Banner, please go to Option 2 below, “Connecting to the GlobalProtect Gateway from your Desktop Application”.
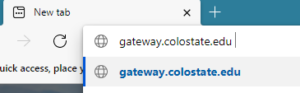
1. From any browser on your PC or Mac type in gateway.colostate.edu into the address bar.
2. The Single Sign-On screen will prompt you to enter your email address. Enter it in the format “netid@colostate.edu”, where “netid” is replaced with your NetID.
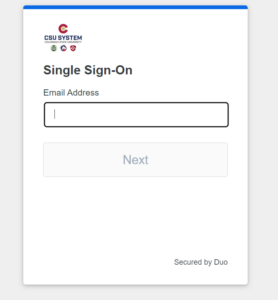
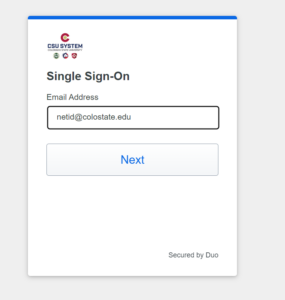
Click Next.
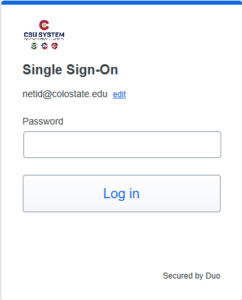
3. Enter your NetID password. Click Log in.
4. Duo will automatically select your default authentication method. See the instructions for Duo installation if needed.
The screenshots below show one user with the security key as their default and another user with the Duo Push as the default.
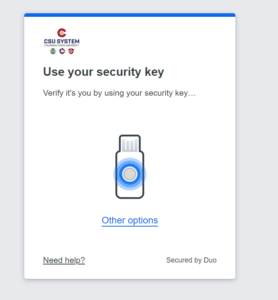
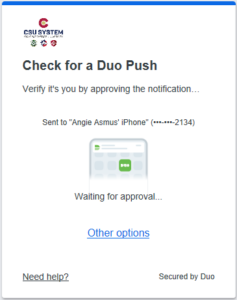
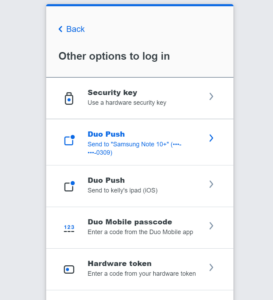
To use a different authentication method, click “Other options”.
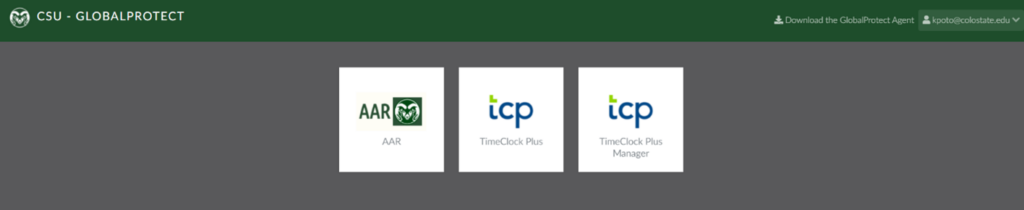
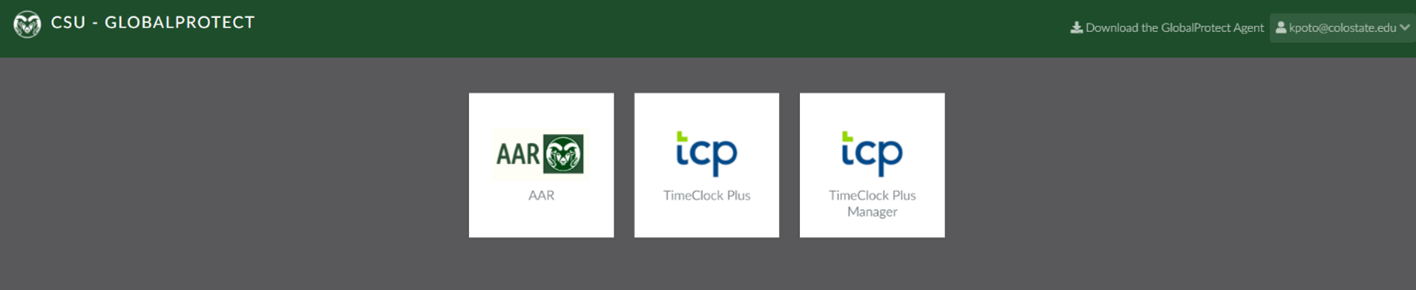
4. Once authenticated, you will be logged into the secure gateway and can begin conducting your business. (note: links and applications you see may be subject to change)
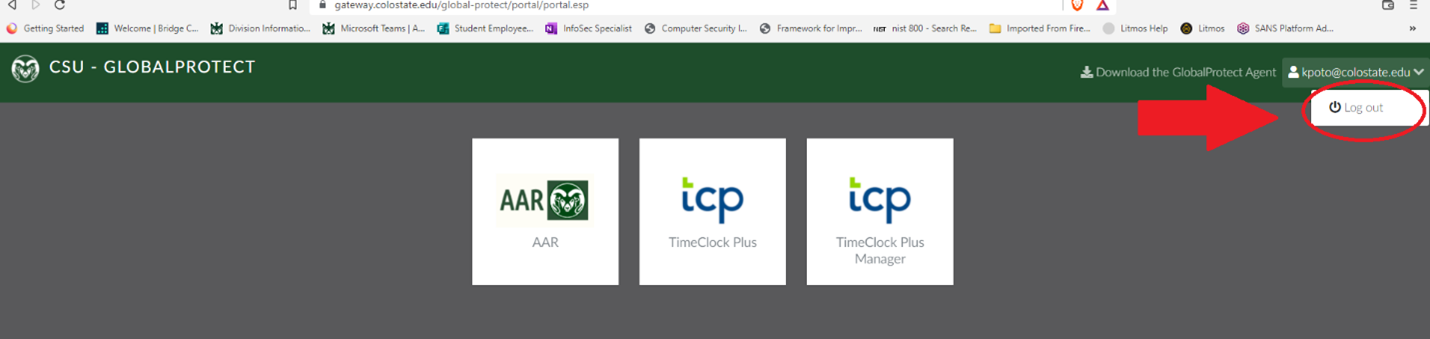
5. Log out or close the screen to exit the gateway and close the session.
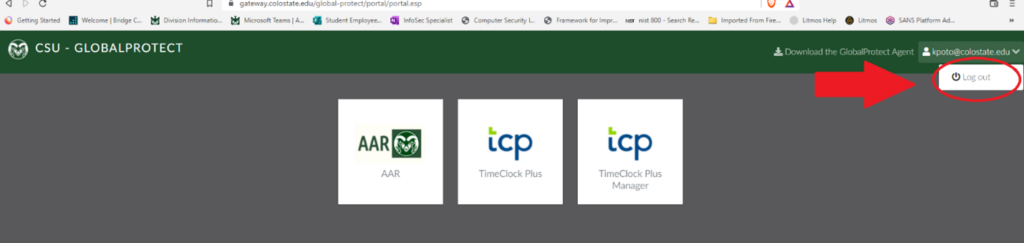
6. Your device is remembered for 24 hours, after that, you will need to reestablish and reauthenticate your VPN connection.
Option 2: Connecting to the GlobalProtect Gateway from your Desktop Application
Note: This option requires the GlobalProtect app to have been installed to your device by CSU IT Staff. If GlobalProtect is not already installed, which you can check by following Step 1 below, see the Install Desktop Agent – Personally Managed Devices section for instructions on installing GlobalProtect manually.
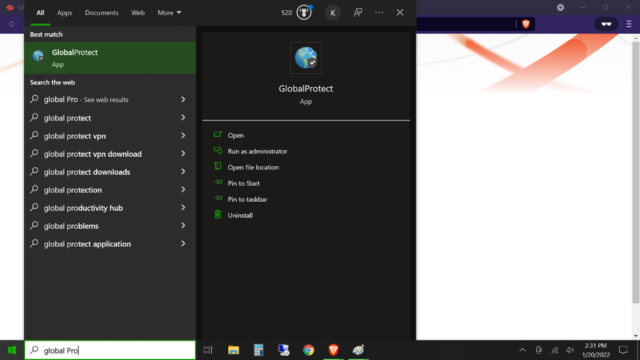
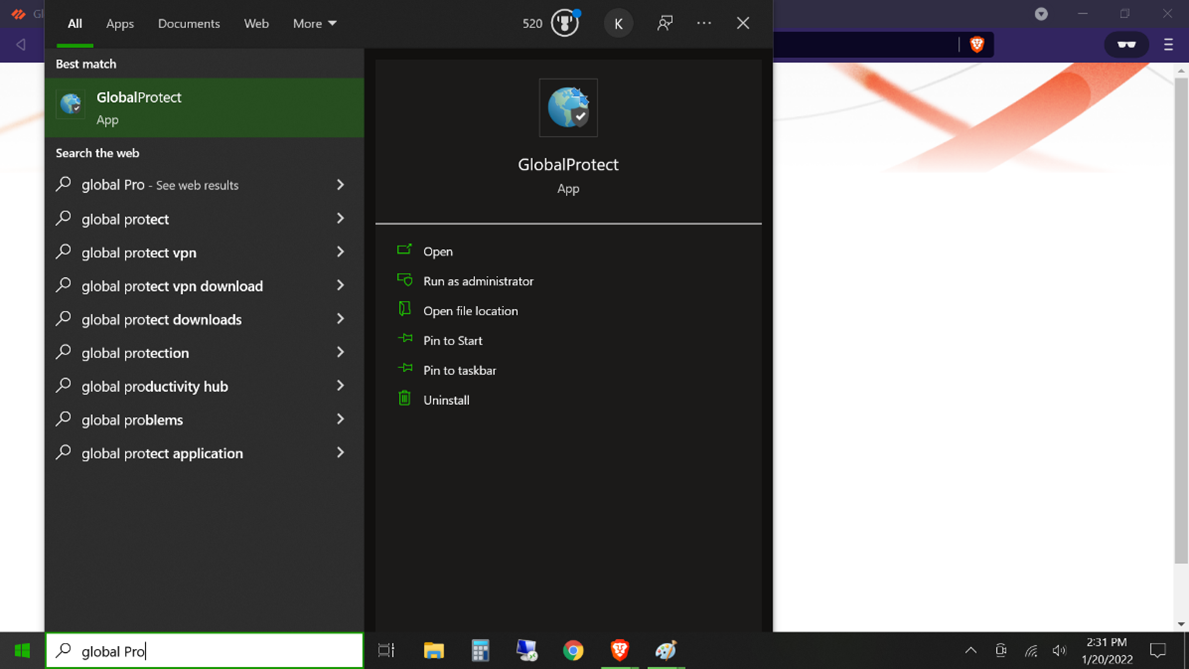
1. From the Start menu search bar, type in GlobalProtect. If the GlobalProtect icon does not display, see the Install Desktop Agent – Personally Managed Devices section to install it manually or contact your IT manager to have it added to your CSU managed device.
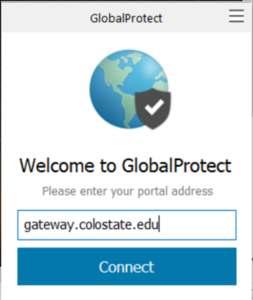
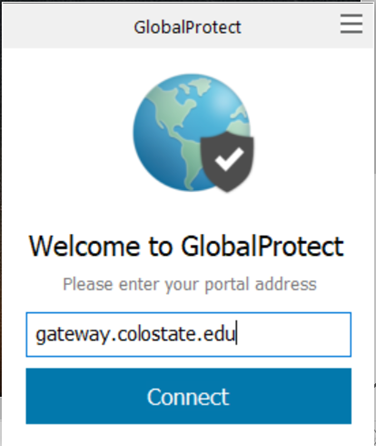
2. Enter gateway.colostate.edu for the portal address. Click Connect.
Note: some screens or processes may look different depending on which version of GlobalProtect is in use.
3. The Single Sign-On screen will prompt you to enter your email address. Enter it in the format “netid@colostate.edu”, where “netid” is replaced with your NetID.
Click Next.
3. Enter your NetID password. Click Log in.
4. Duo will automatically select your default authentication method. See the instructions for Duo installation if needed.
The screenshots below show one user with the security key as their default and another user with the Duo Push as the default.
To use a different authentication method, click “Other options”.
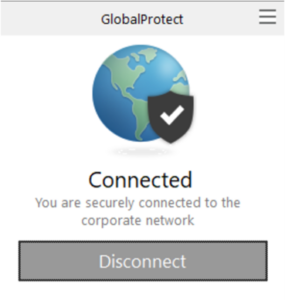
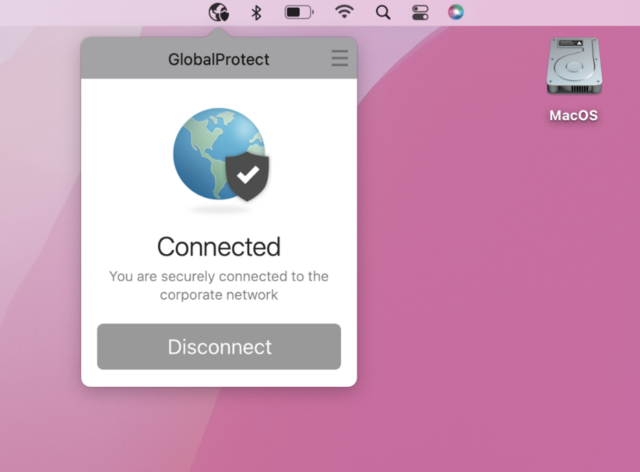
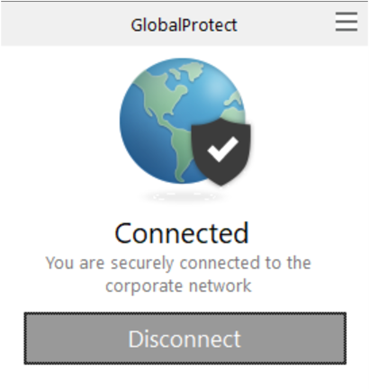
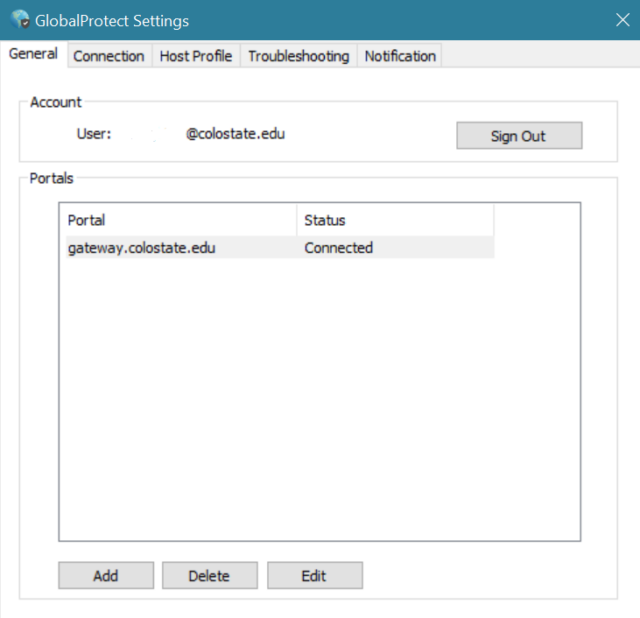
5. Once you have authenticated and the connection is successful, the GlobalProtect screen will display as “Connected”. Click “Disconnect” to end the session.
-
Using the Desktop Agent – PC & Mac
To Use:
PC:
Open the Global Protect application:
From the Start Search bar, search for GlobalProtect, click on the application.
Enter gateway.colostate.edu for the portal address.
Note: some screens or processes may look different depending on which version of GlobalProtect is in use.
The Single Sign-On screen will prompt you to enter your email address. Enter it in the format “netid@colostate.edu”, where “netid” is replaced with your NetID.
Click Next.
Enter your NetID password. Click Log in.
Duo will automatically select your default authentication method. See the instructions for Duo installation if needed.
The screenshots below show one user with the security key as their default and another user with the Duo Push as the default.
To use a different authentication method, click “Other options”.
When the connection is successful, the GlobalProtect screen will display as “Connected”. Click “Disconnect” to end the session.
Mac:
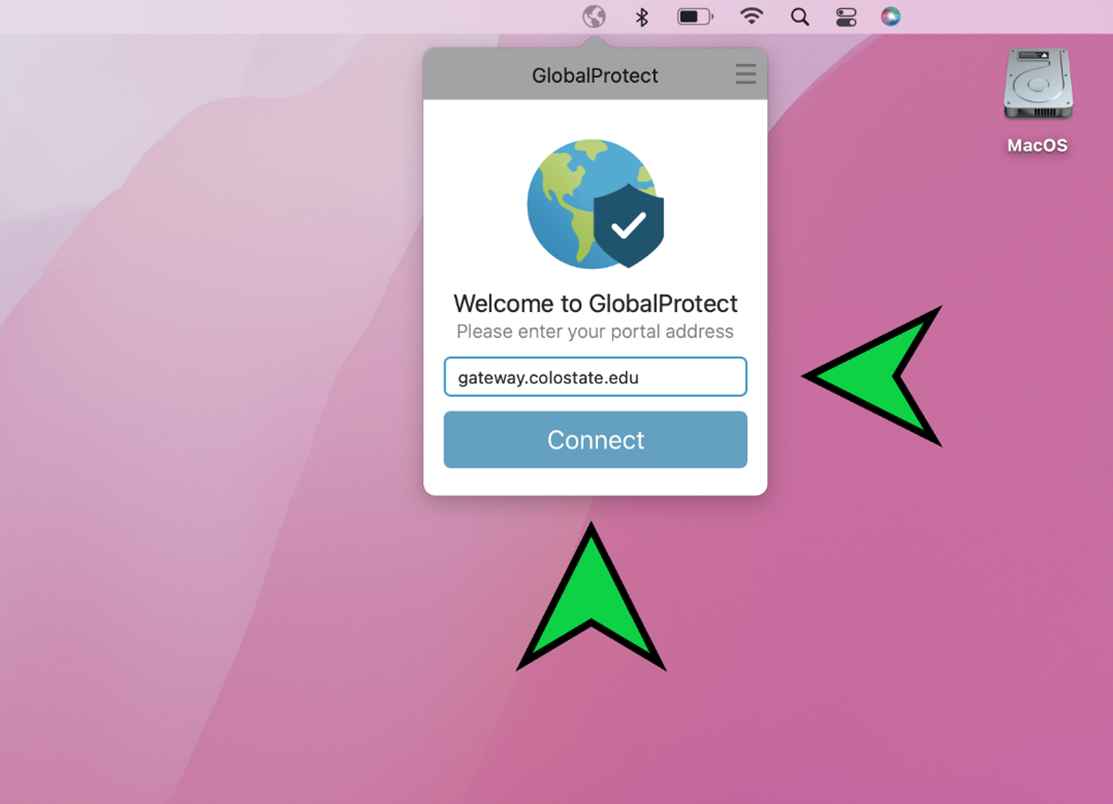
Open the Global Protect application:
Click the Globe Icon at the top of the screen and enter gateway.colostate.edu for the portal address. If the GlobalProtect icon does not display on your top bar, email help@colostate.edu.
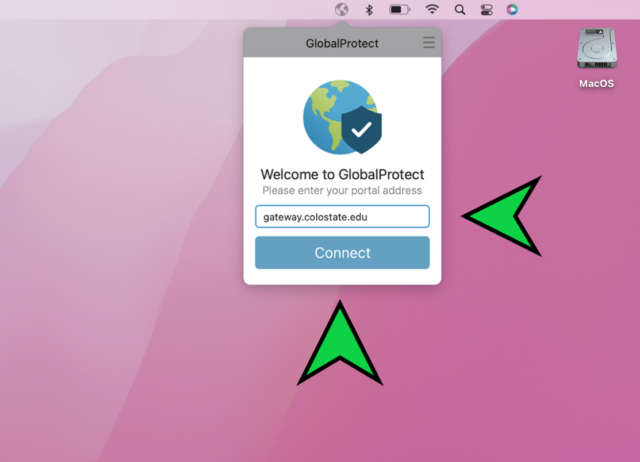
Note: some screens or processes may look different depending on which version of GlobalProtect is in use.
The Single Sign-On screen will prompt you to enter your email address. Enter it in the format “netid@colostate.edu”, where “netid” is replaced with your NetID.
Click Next.
Enter your NetID password. Click Log in.
Duo will automatically select your default authentication method. See the instructions for Duo installation if needed.
The screenshots below show one user with the security key as their default and another user with the Duo Push as the default.
To use a different authentication method, click “Other options”.
When the connection is successful, the GlobalProtect screen will display as “Connected”. Click “Disconnect” to end the session.
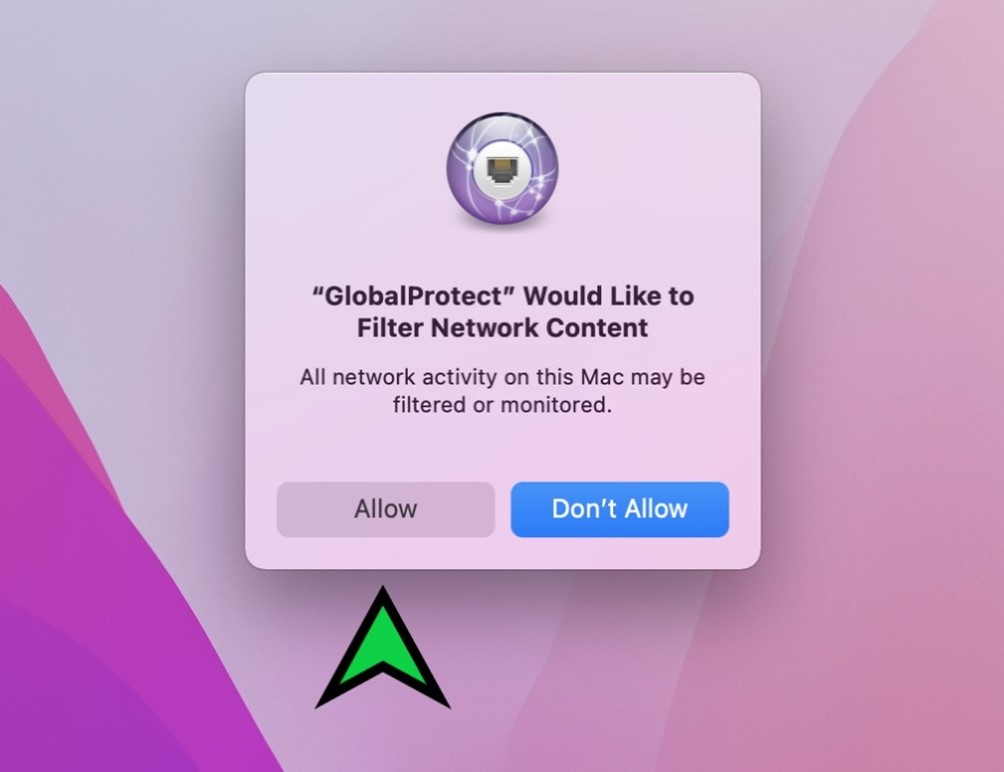
Depending on version of macOS you may receive the following popup message “Filter Network Content”. If you do, click on Allow to complete the GlobalProtect client/agent installation.
-
Install the Desktop Agent – Personally Managed Devices
1. From any browser on your PC or Mac type in gateway.colostate.edu into the address bar.
2. The Single Sign-On screen will prompt you to enter your email address. Enter it in the format “netid@colostate.edu”, where “netid” is replaced with your NetID.
Click Next.
3. Enter your NetID password. Click Log in.
4. Duo will automatically select your default authentication method. See the instructions for Duo installation if needed.
The screenshots below show one user with the security key as their default and another user with the Duo Push as the default.
To use a different authentication method, click “Other options”.
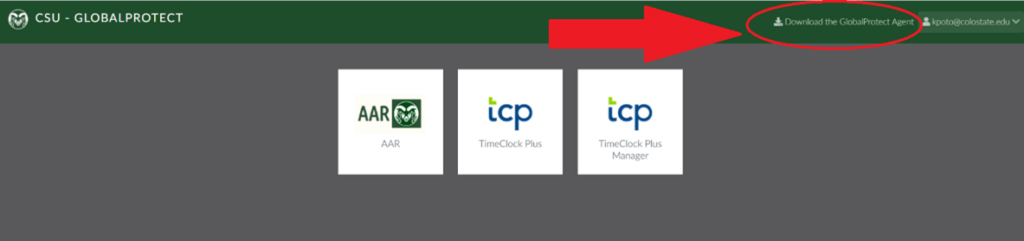
4. Once authenticated you will be logged into the secure gateway
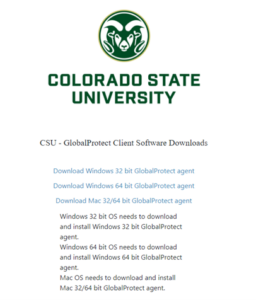
5. Select Download the GlobalProtect Agent to be presented with the different software download options.
6. This step is specific to your operating system. Select the appropriate download for your device type to begin installation. If you’re unsure of which agent file to select, contact your local IT support.
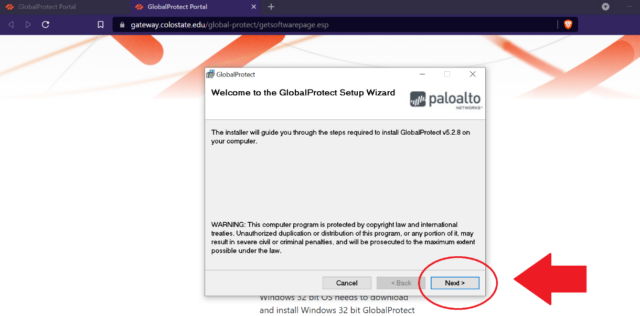
PC Installation:
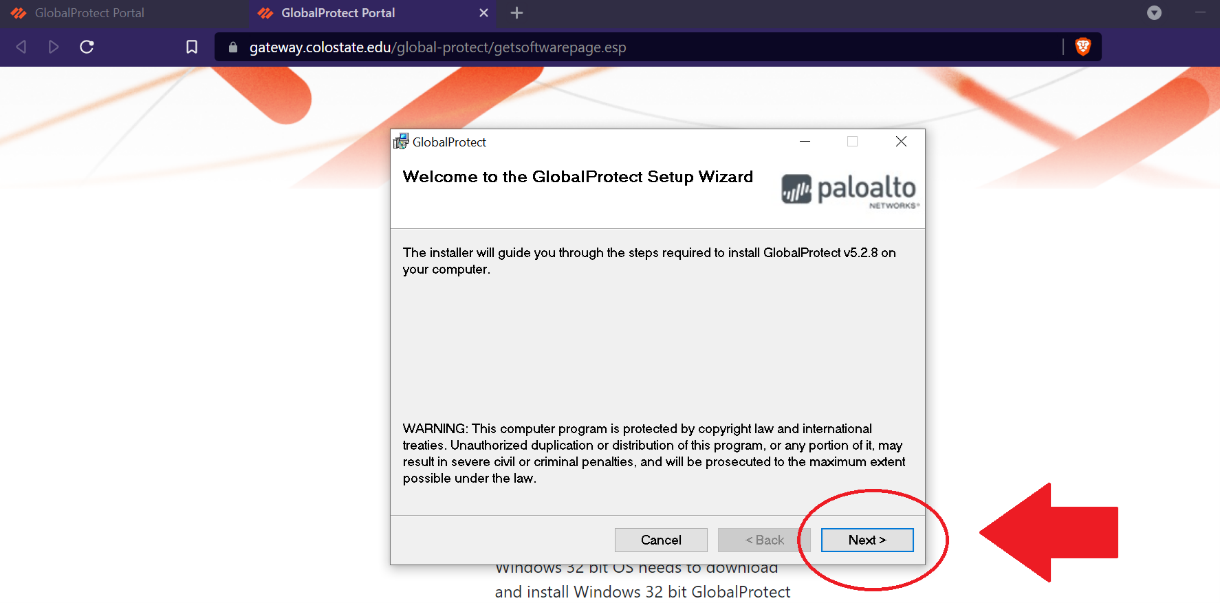
The GlobalProtect Setup Wizard will open. Click Next to begin.
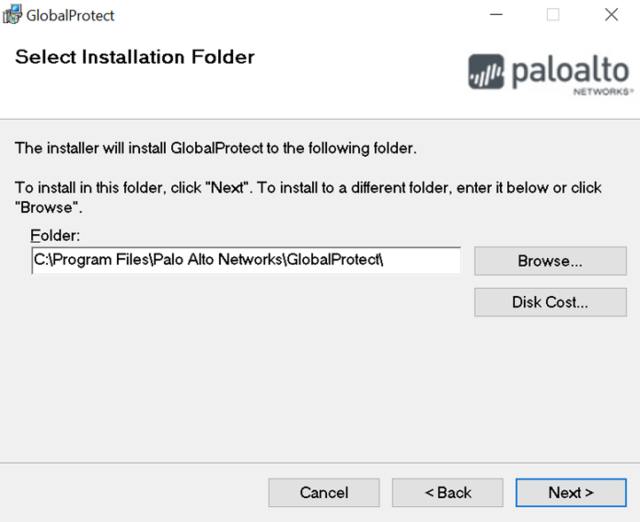
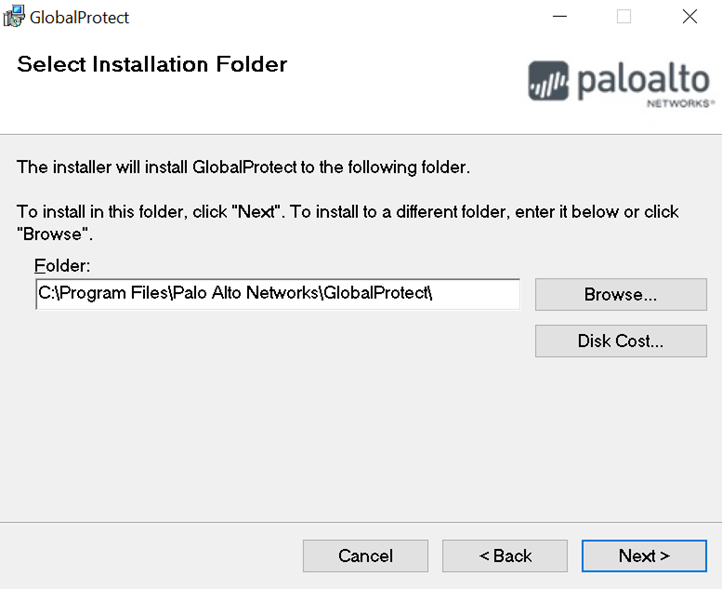
The Select Installation Folder prompt will appear. It’s recommended to use the default download location, click Next to continue.
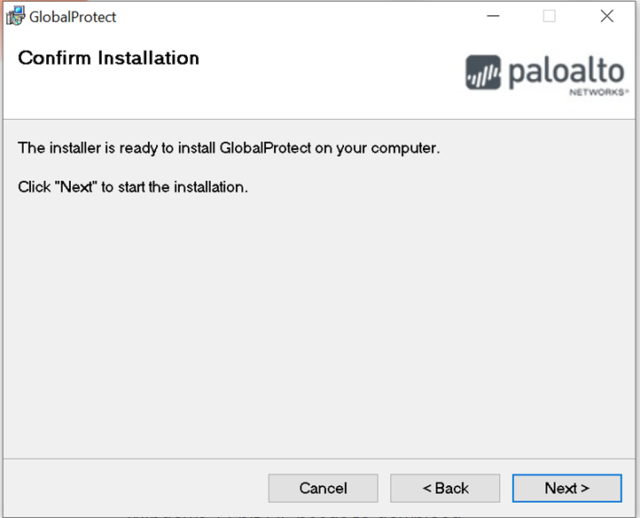
The Confirm Installation prompt will appear. Click Next to continue.
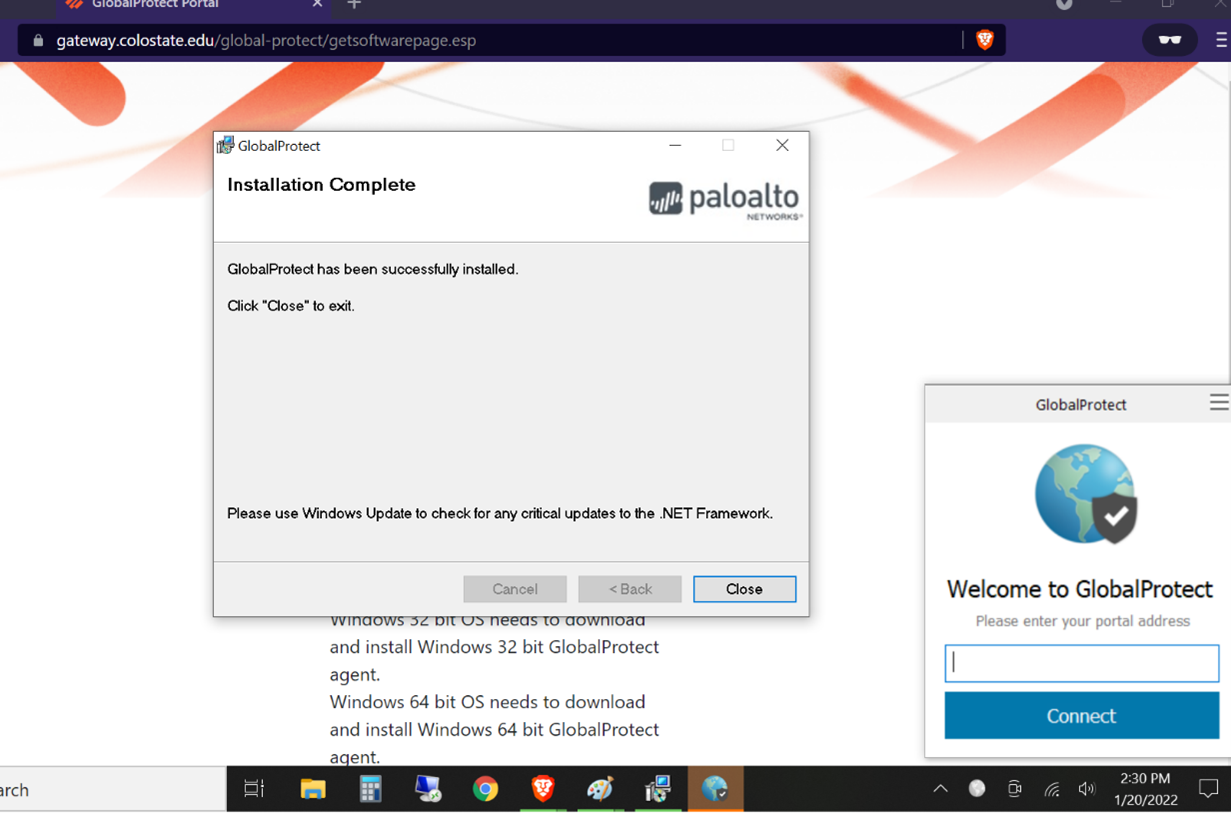
The Installation Complete screen will appear. Click Close to complete the installation on your PC.
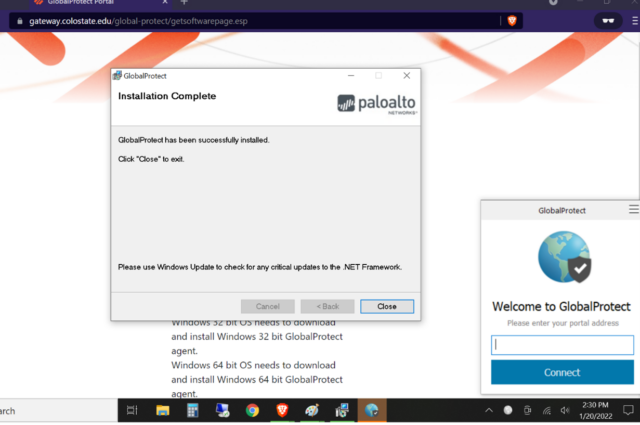
GlobalProtect is now installed on your PC. See the Using the Desktop Agent guide for instructions on launching and using the GlobalProtect client.
Mac Installation:
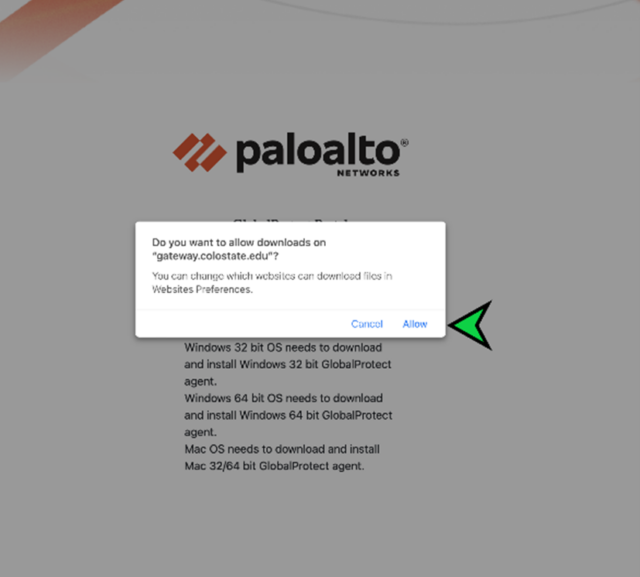
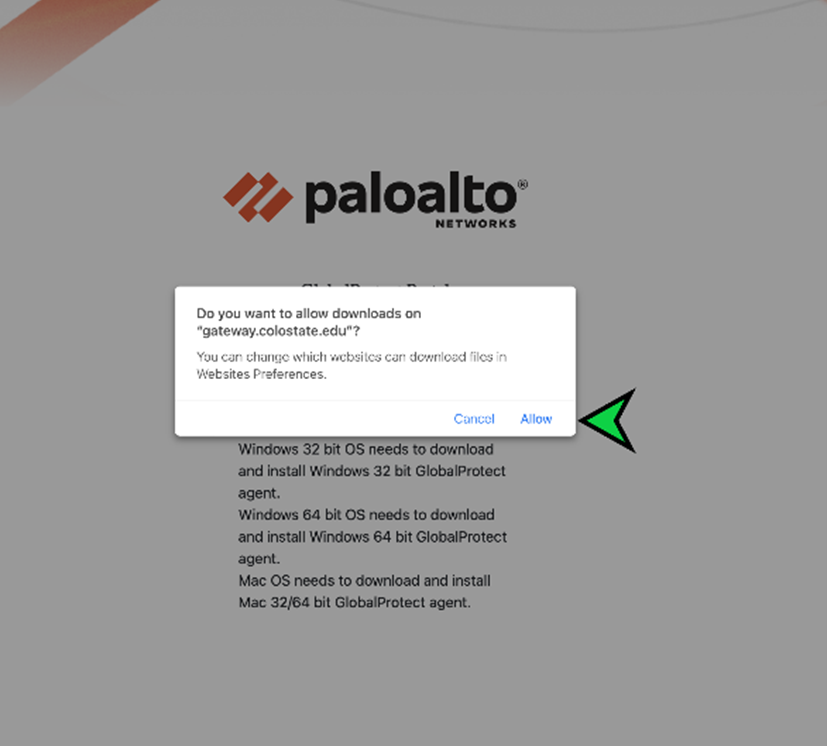
A pop-up will appear asking if you want to allow downloads on “gateway.colostate.edu”. Click Allow.
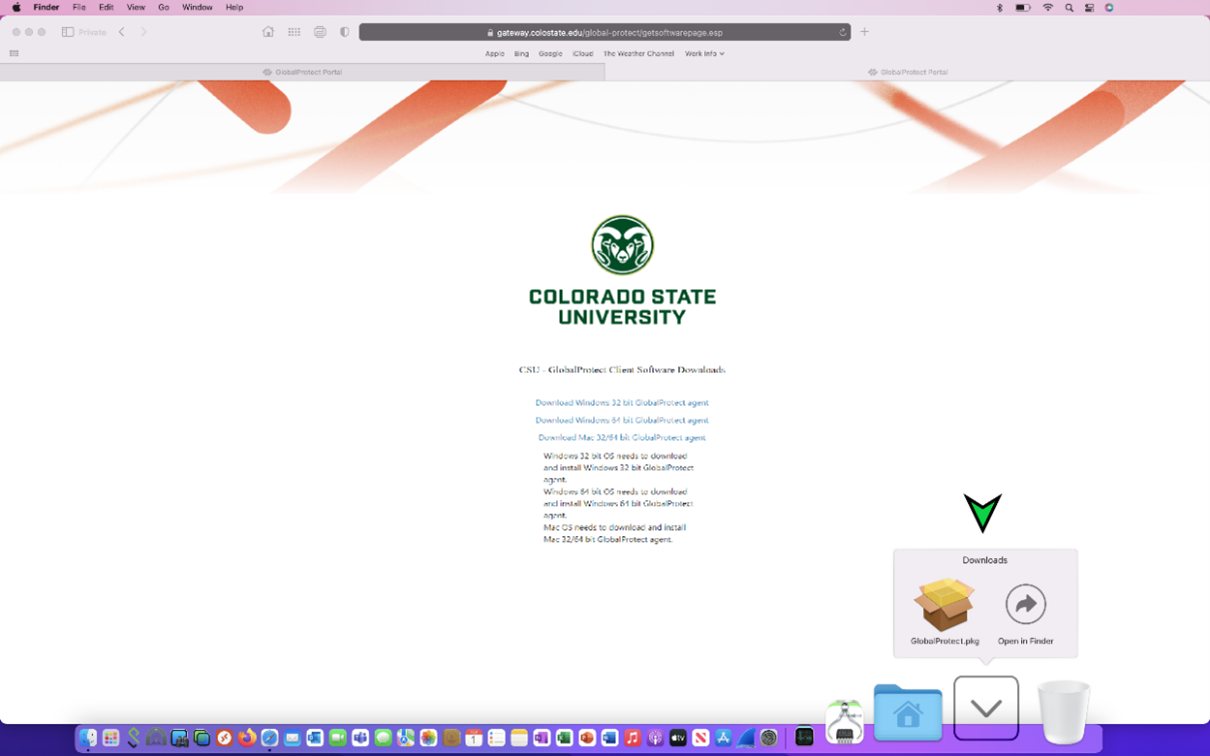
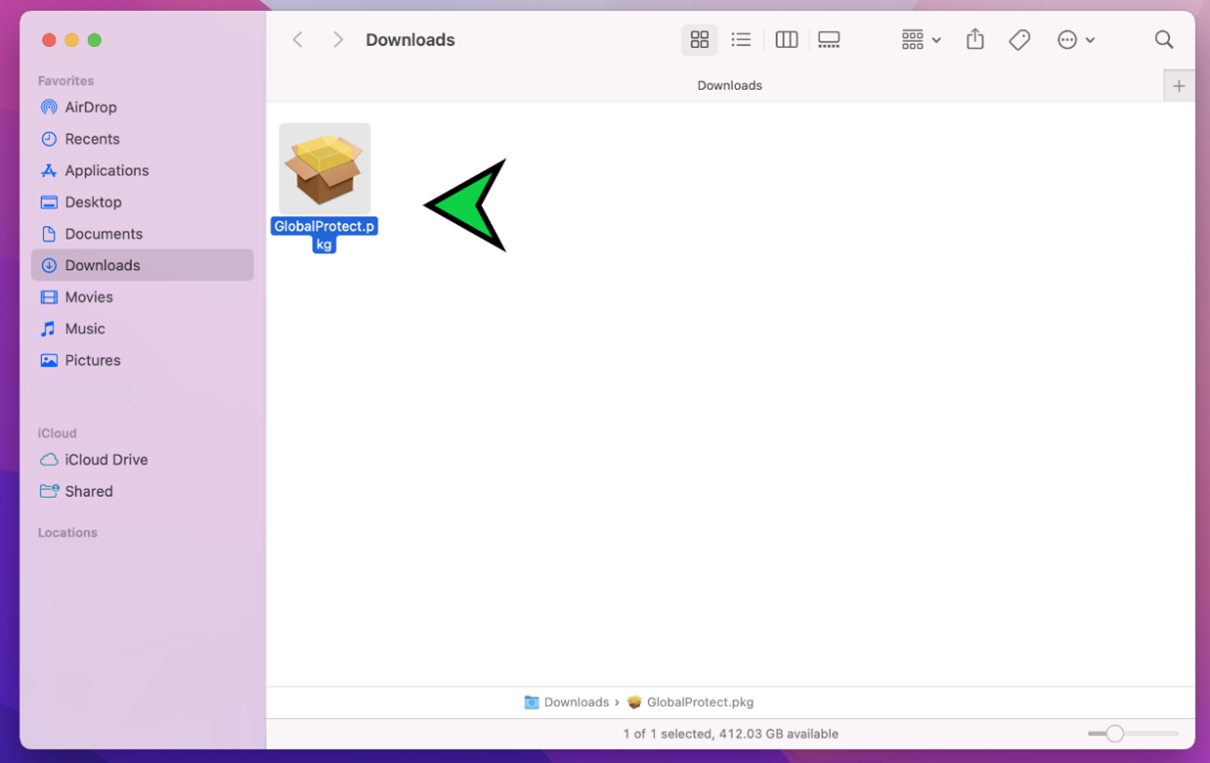
The file will be in the download folder.
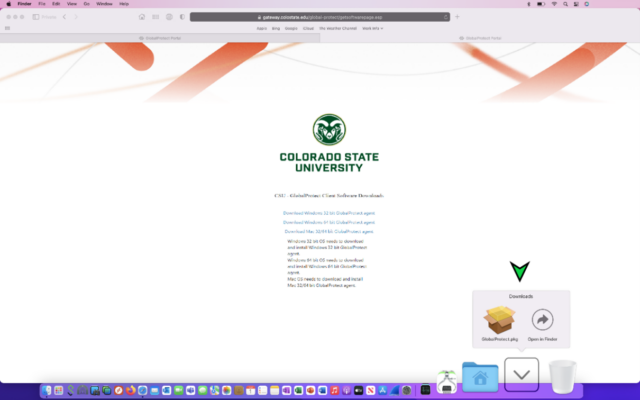
Click on the GlobalProtect folder to open the files.
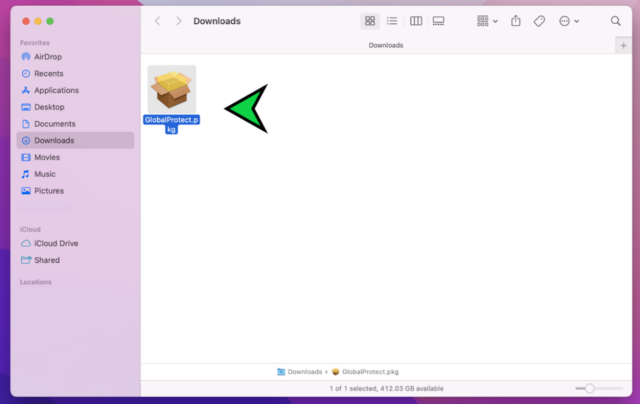
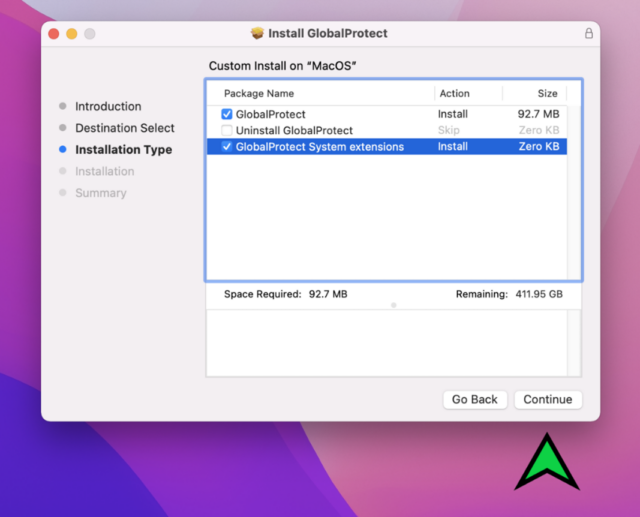
Click Install to begin installing the files.
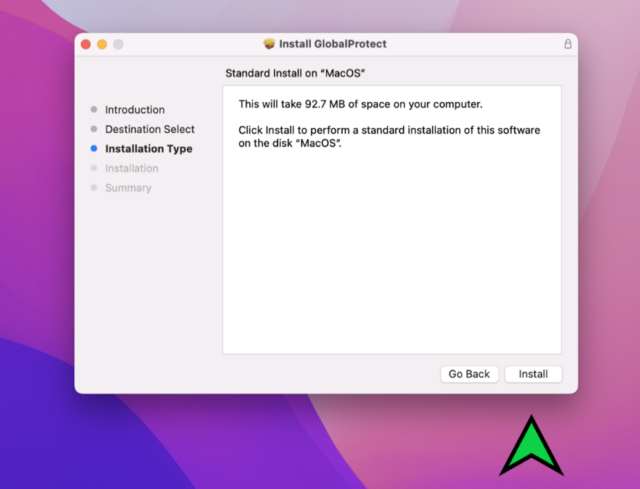
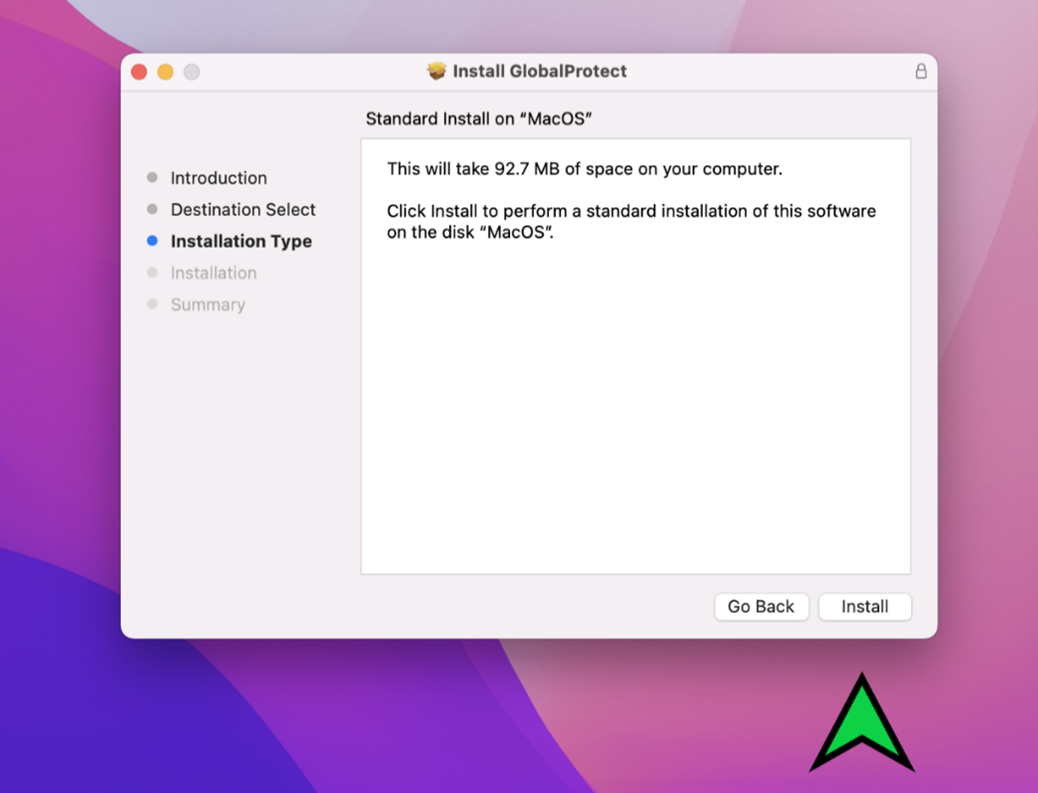
On the next screen, click Continue to select the Global Protect package to download.
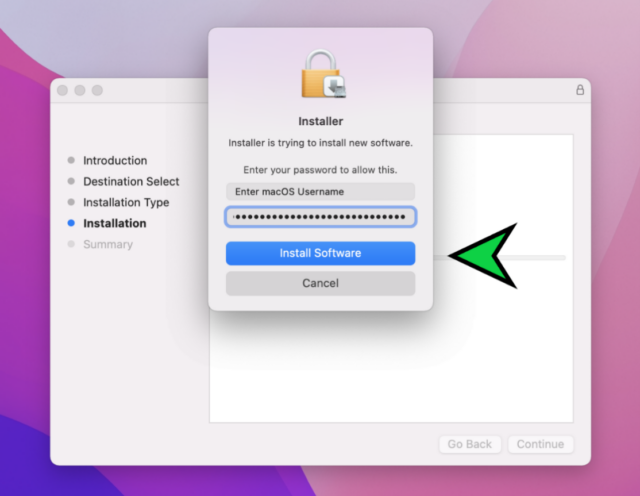
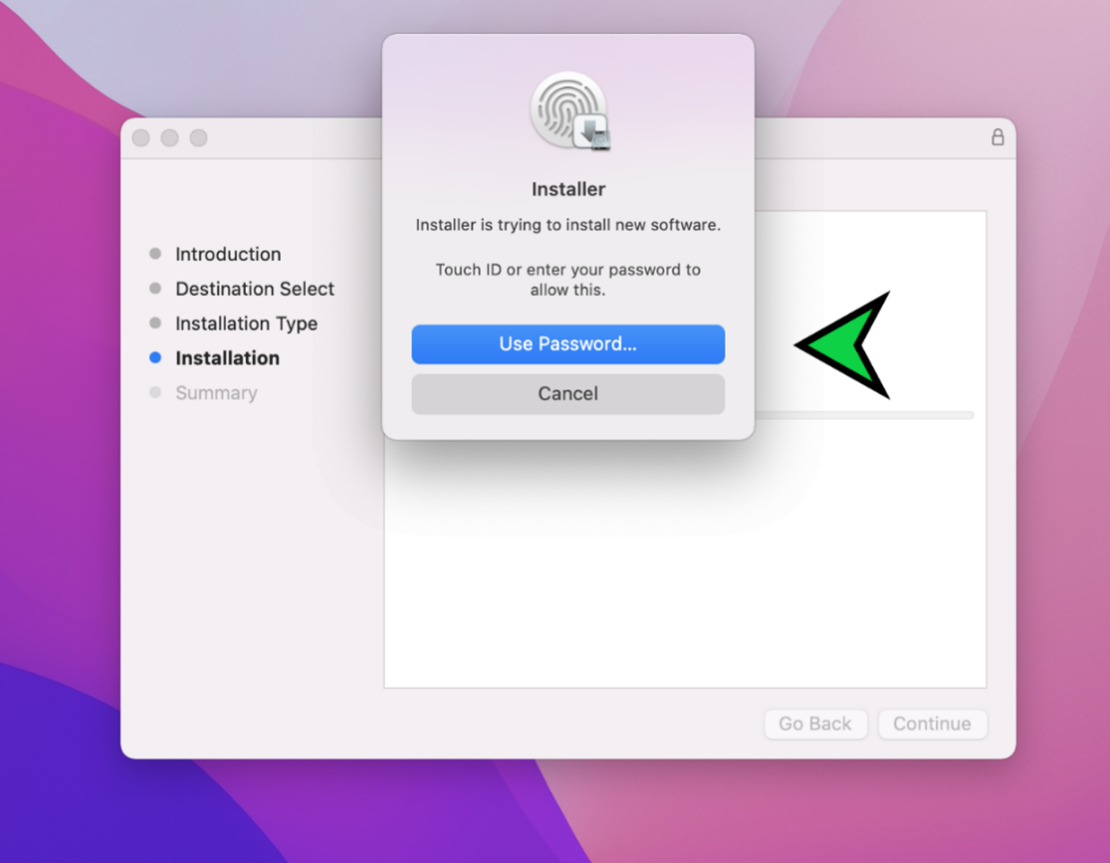
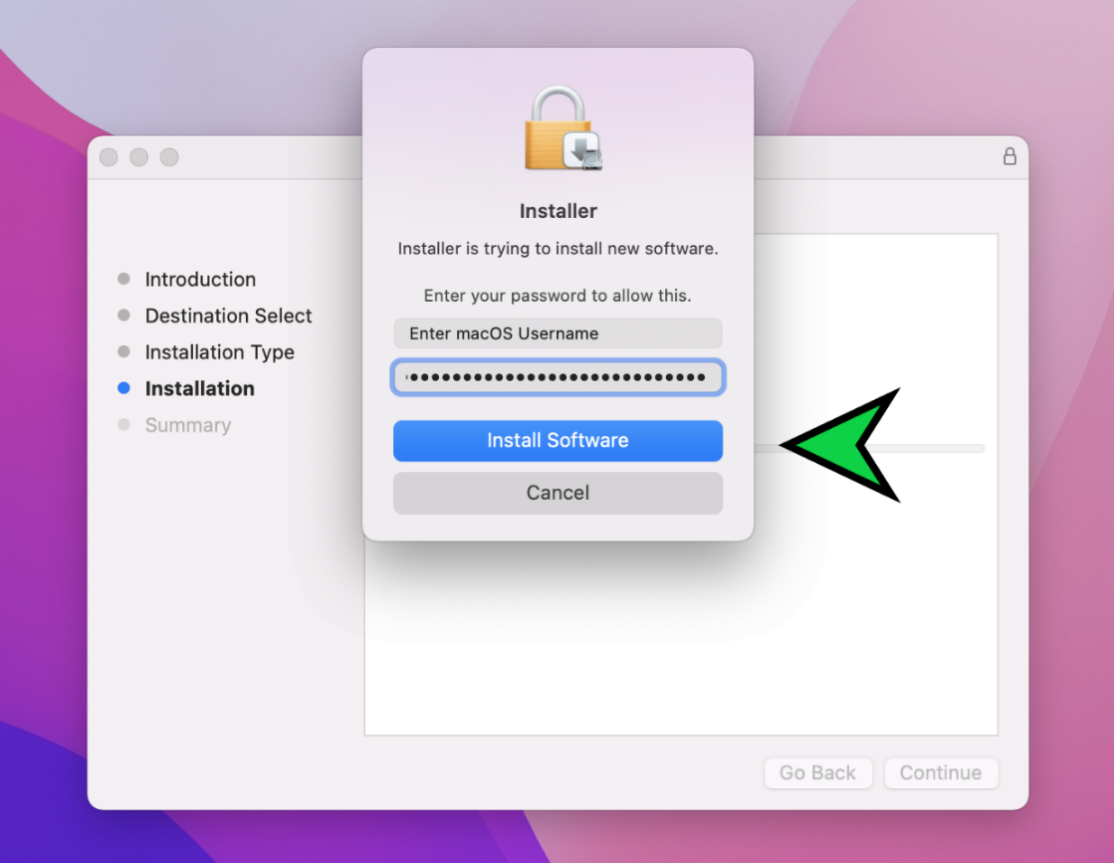
The Installer will prompt you to use Touch ID or your password to continue. Enter your MacOS/AppleID password or use Touch ID when prompted.
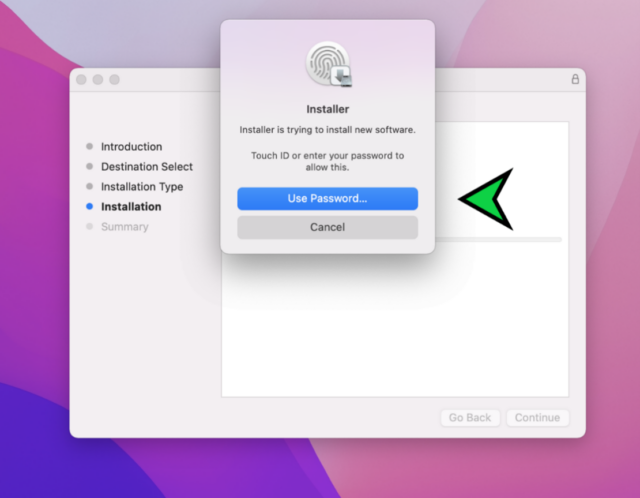
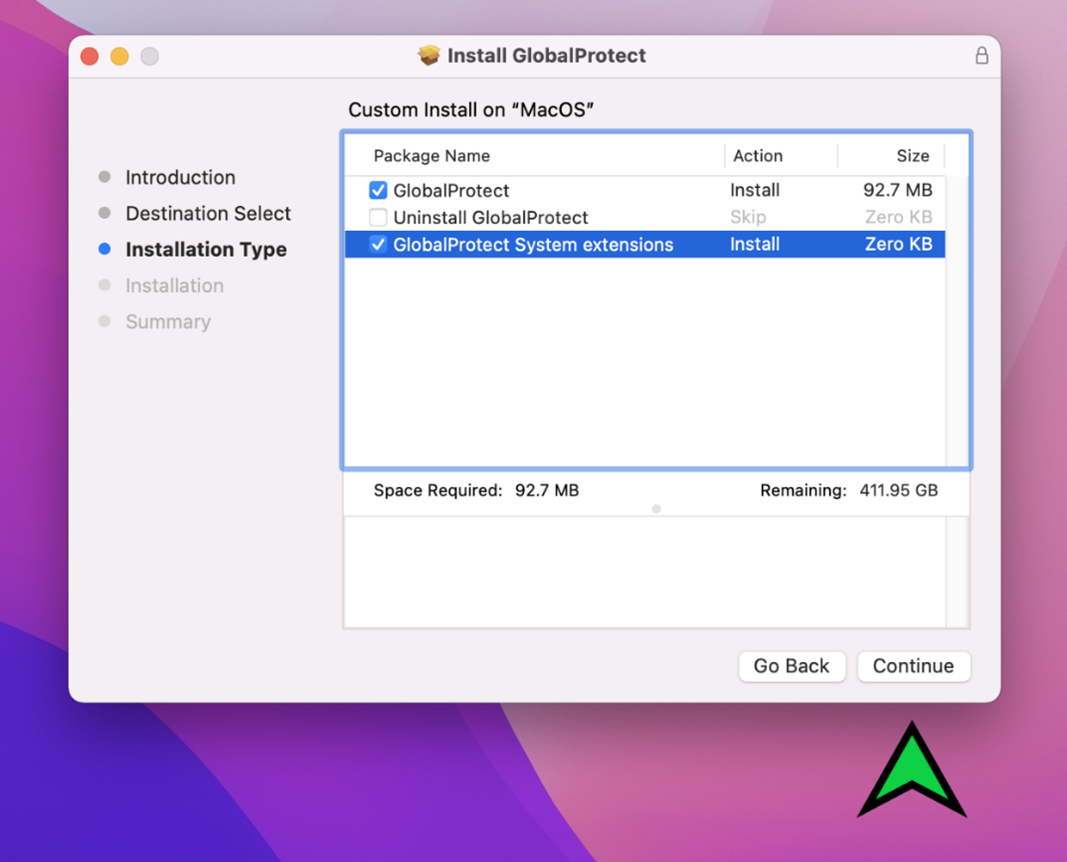
Click Install Software to continue.
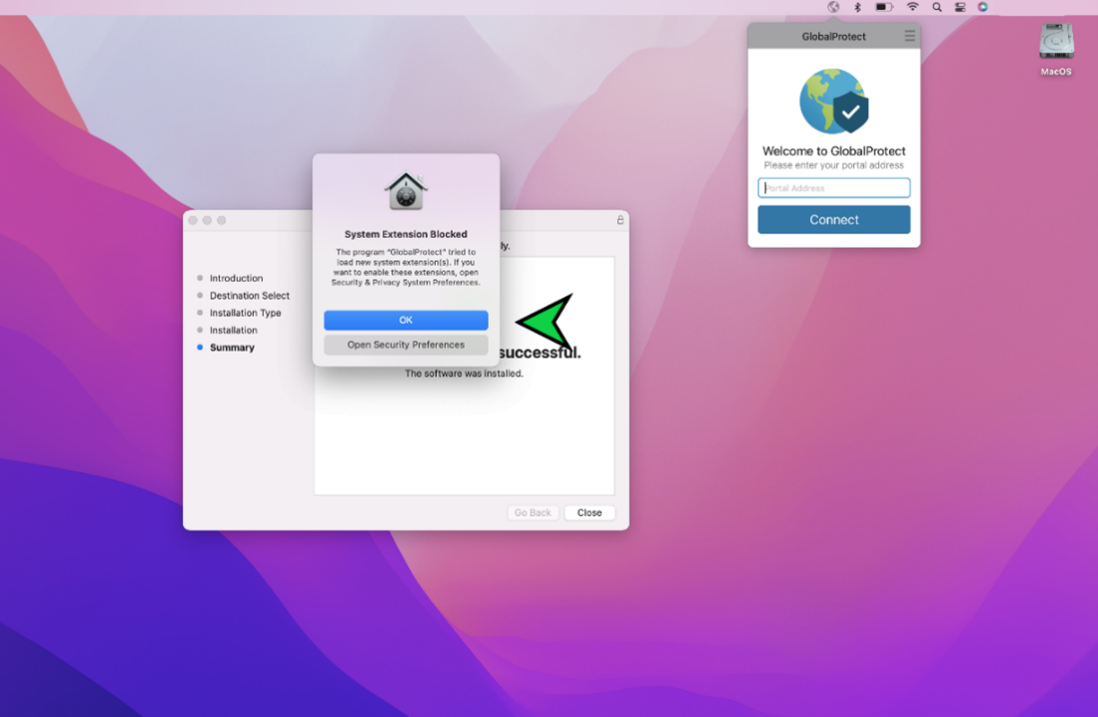
A “System Extension Blocked” window will pop up. Click OK to Enable the system extension.

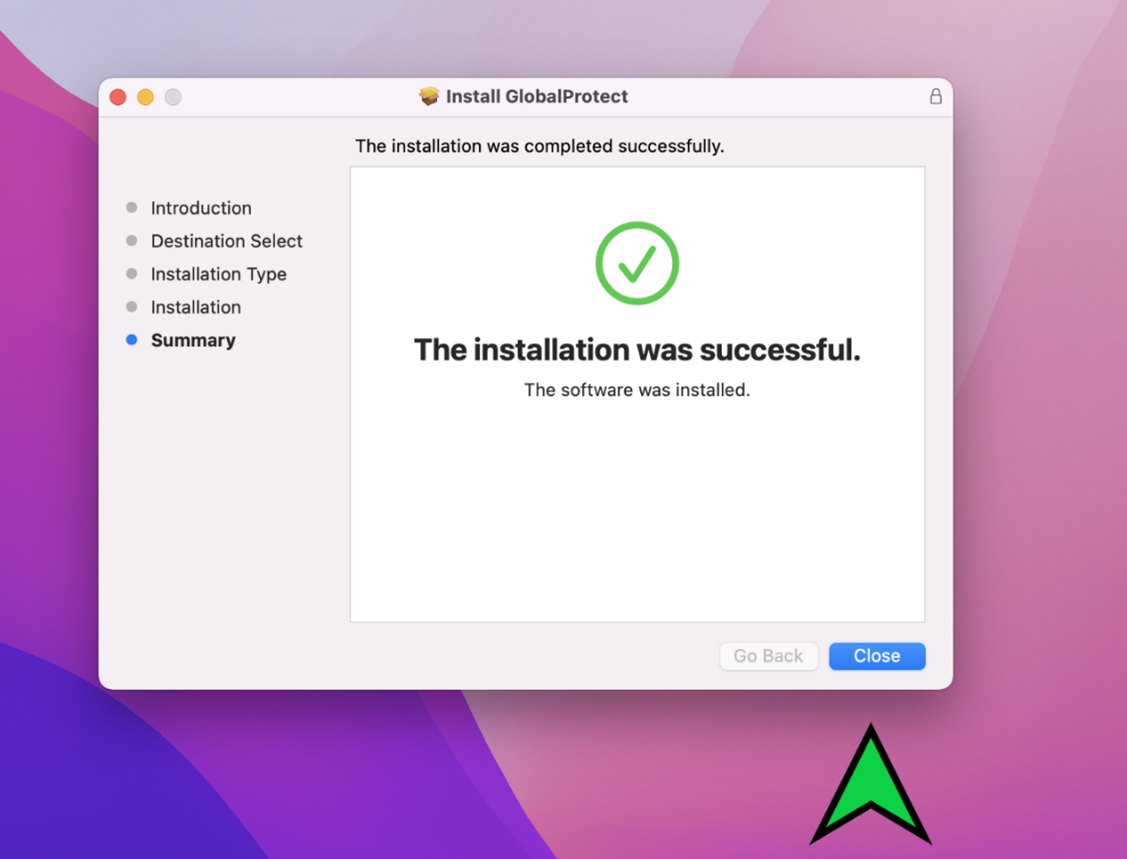
“The installation was successful” message will appear. Click Close, the installation process for your Mac is complete.
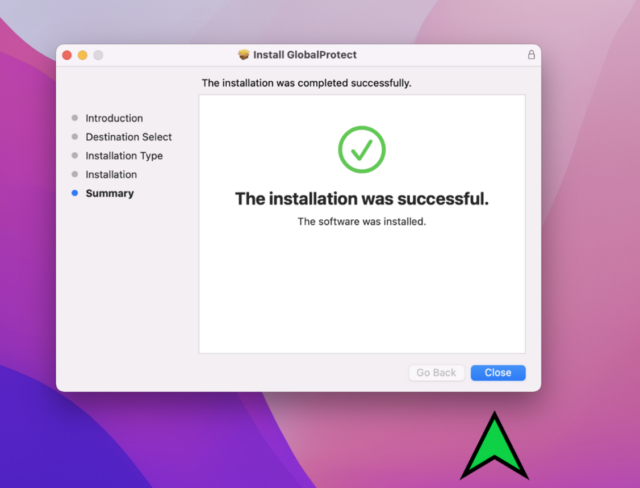
GlobalProtect is now installed on your Mac. See the Using the Desktop Agent guide for instructions on launching and using the GlobalProtect client.
-
Install & Use the Mobile App – iOS Devices
To Install:
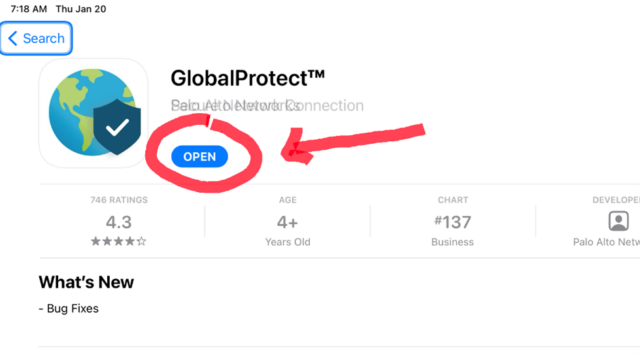
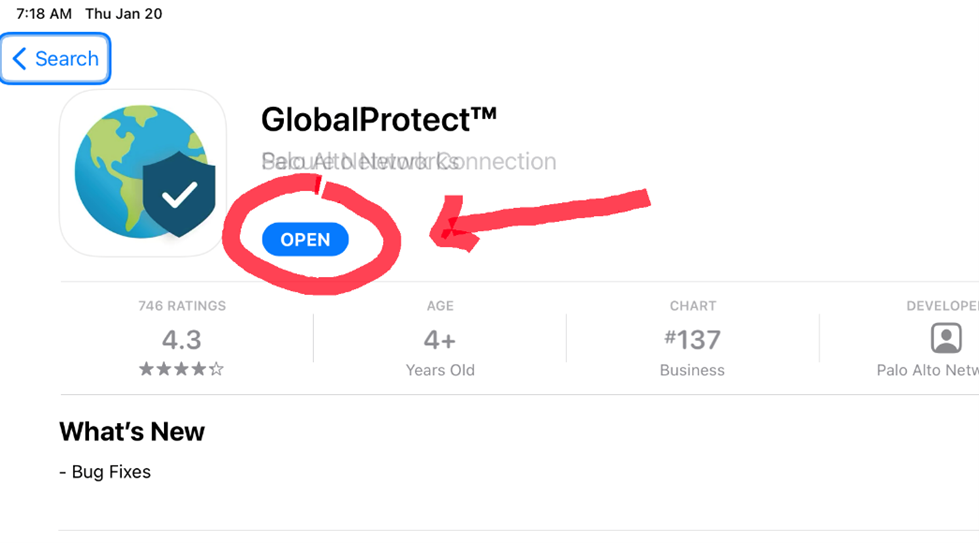
- Download the GlobalProtect App from the Apple App Store
- Open the GlobalProtect App
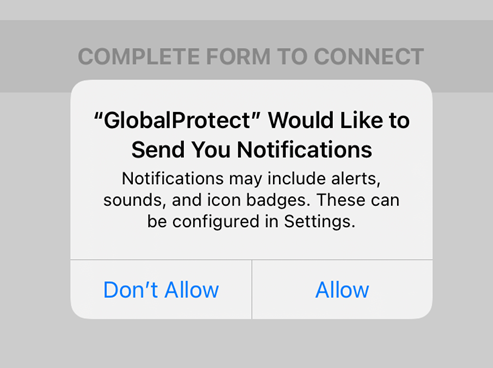
3. GlobalProtect will ask if it can send notifications. To effectively use the app, you will want to Allow notifications.
4. When prompted for the portal address, enter “gateway.colostate.edu”

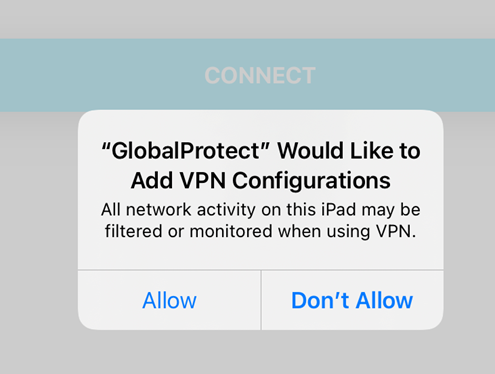
5. GlobalProtect will ask if it can Add VPN Configurations. To effectively use the app, click Allow.
6. The Single Sign-On screen will prompt you to enter your email address. Enter it in the format “netid@colostate.edu”, where “netid” is replaced with your NetID.
Click Next.
7. Enter your NetID password. Click Log in.
8. Duo will automatically select your default authentication method. See the instructions for Duo installation if needed.
The screenshots below show one user with the security key as their default and another user with the Duo Push as the default.
To use a different authentication method, click “Other options”.
9. You are now connected to the GlobalProtect VPN service. Tap the green shield to disconnect.

To Use:
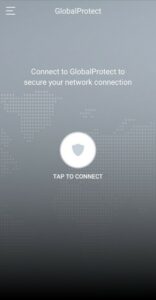
Open the GlobalProtect application from your device
Tap to Connect
The Single Sign-On screen may prompt you to enter your email address. Enter it in the format “netid@colostate.edu”, where “netid” is replaced with your NetID.
Click Next.
Enter your NetID password. Click Log in.
Duo will automatically select your default authentication method. See the instructions for Duo installation if needed.
The screenshots below show one user with the security key as their default and another user with the Duo Push as the default.
To use a different authentication method, click “Other options”.
Tap the green shield icon to end session
The app will state the connection is successful and you may begin browsing. While GlobalProtect is enabled, any application you use or site you visit will be securely routed through the VPN service.
-
Install & Use the Mobile App – Android Devices
To Install:
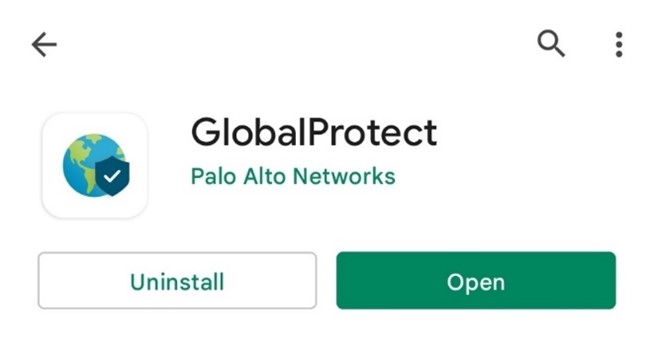
- Download the GlobalProtect App from the Google Play Store.
- Open the GlobalProtect App

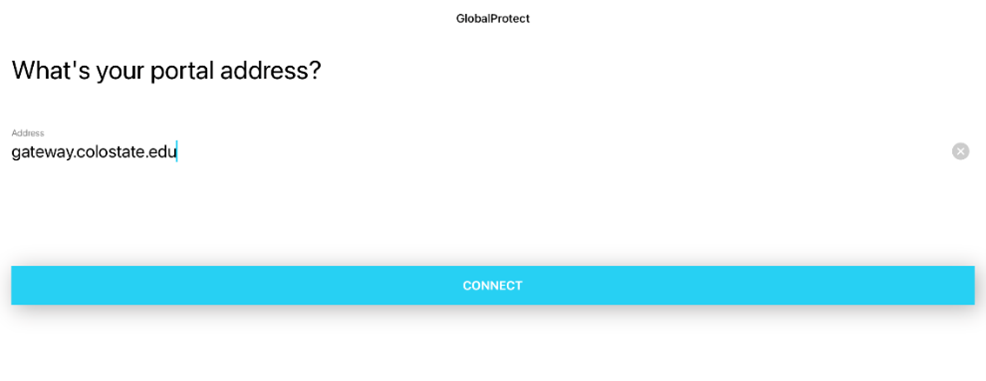
3. When prompted for the portal address, enter “gateway.colostate.edu”, then click Connect

4. The Single Sign-On screen will prompt you to enter your email address. Enter it in the format “netid@colostate.edu”, where “netid” is replaced with your NetID.
Click Next.
5. Enter your NetID password. Click Log in.
6. Duo will automatically select your default authentication method. See the instructions for Duo installation if needed.
The screenshots below show one user with the security key as their default and another user with the Duo Push as the default.
To use a different authentication method, click “Other options”.
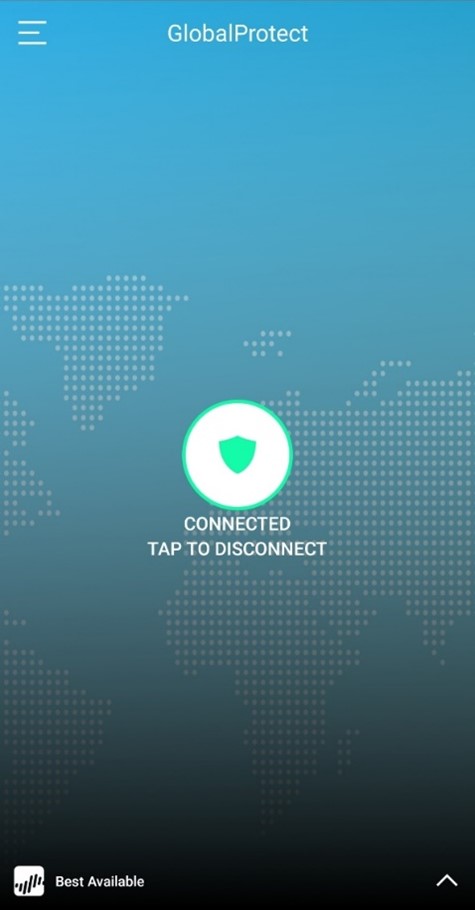
7. If the login was successful, you will receive one of the following screens depending on your device brand.

To Use:
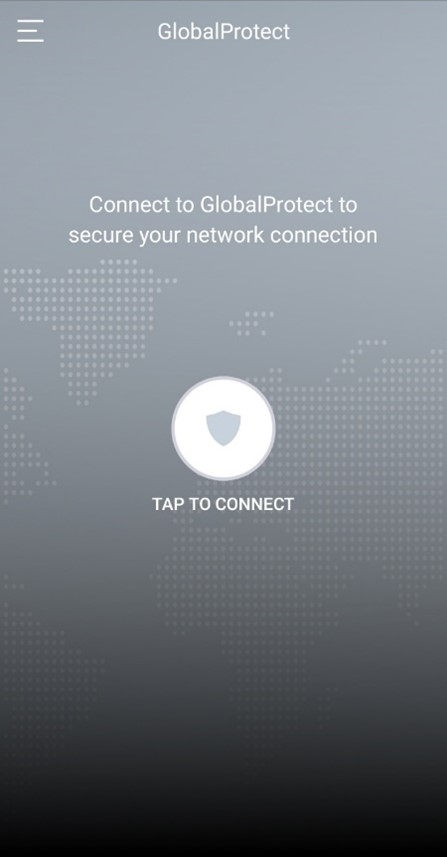
Tap GlobalProtect icon to open
Select Tap To Connect
The Single Sign-On screen may prompt you to enter your email address. Enter it in the format “netid@colostate.edu”, where “netid” is replaced with your NetID.
Click Next.
Enter your NetID password. Click Log in.
Duo will automatically select your default authentication method. See the instructions for Duo installation if needed.
The screenshots below show one user with the security key as their default and another user with the Duo Push as the default.
To use a different authentication method, click “Other options”.
The app will state the connection is successful and you may begin browsing. While GlobalProtect is enabled, any application you use or site you visit will be securely routed through the VPN service.


GlobalProtect FAQ
-
What is a VPN and why use it?
A VPN is a Virtual Private Network. It’s a secure tunnel that allows you to connect to CSU resources and software through the internet when you are not on campus. This tunnel preserves privacy, prevents unauthorized access, and keeps the work you are doing on that device secure. At CSU we use GlobalProtect as our VPN service.
To learn more about VPNs, their uses and protections they offer, you can watch What is a VPN and Why Should You Use One? by VPN Overview.
-
Is there a difference between using the GlobalProtect desktop client or accessing it via a browser?
The Division of IT recommends using the GlobalProtect desktop client/agent over the browser version in order to access all protected campus resources and for increased functionality and security.
The GlobalProtect web portal (browser) is set up to access a set of defined applications. It is a static configuration and cannot be modified by the user. The web portal is recommended for users who only need to access limited resources such as TimeClock Plus.
The GlobalProtect client/agent is a VPN tunnel configured to access all resources on campus. When connecting via the client/agent, you will receive a CSU IP address and will be on the CSU network. You will be able to access internal CSU websites and applications like Oracle HR and Banner, initiate remote terminal or desktop sessions, and access other resources not publicly available. It is important to note that the VPN is configured as a split tunnel, so resources on the public internet are accessed through your ISP, not through CSU’s network.
Watch the video: GlobalProtect Client/Agent vs. Web Portal: How to Use and Why it’s Better to Use the Client
-
How do I know if GlobalProtect is compatible with my device?
Please refer to the Palo Alto Compatibility Matrix.
Note: The Division of IT can only support operating systems explicitly listed as supported by our current version of GlobalProtect in the Palo Alto Compatibility Matrix.
-
How do I use Global protect with a Linux device?
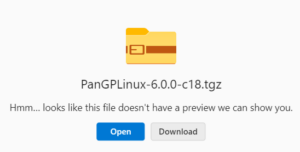
First, check the Palo Alto Compatibility Matrix to ensure that your Linux distribution and version are supported by GlobalProtect 5.2. If so, access the OneDrive folder that contains all current Linux installers supported by CSU’s VPN environment and click “Download”.
You must use one of the installers marked “UI” inside of this archive. Installers not marked “UI” contain only GlobalProtect’s CLI version, not the GUI application. GlobalProtect CLI is incompatible with CSU’s VPN environment; only the GUI application will work.
Note: If GlobalProtect 5.2 does not support your distribution and version per the Compatibility Matrix, the Division of IT cannot offer support.
Once you have downloaded this package, install GlobalProtect by following the instructions on Palo Alto’s website.
-
What do I enter for the portal address?
When launching the GlobalProtect app for the first time on a new device, it will prompt you for the portal address. Enter gateway.colostate.edu and click Connect.
-
What troubleshooting steps can I take for general issues?
- From the system tray, click GlobalProtect to open it.
- In the top right, click the 3 bar menu icon and select Settings > General.
- Under Portals, click gateway.colostate.edu to select it, then click Delete.
- In the upper right, click the X to close the window.
- Go back to your system tray and click GlobalProtect to open it.
- When prompted for a portal address, enter gateway.colostate.edu, then click Connect.
- When prompted, enter your NetID and password, then confirm your identity with Duo two-factor authentication. You will then be connected to GlobalProtect.
Disable iPv6
If you are having trouble resolving connection issues, you may need to disable iPv6:
Windows:
-
- Go to “Settings” > “Network & Internet” > “Status”
- Select “Change adapter options”
- Right click on your active network adapter (Ethernet or Wi-Fi) and select “Properties”
- In the Properties window, scroll down until you see “Internet Protocol Version 6 (TCP/IPv6)”. Uncheck the “Internet Protocol Version 6 (TCP/IPv6)” checkbox to disable IPv6.
- Click on “OK” to save the changes and then restart your PC.
Additional Support
If you have questions about using GlobalProtect, please reach out to your college or department’s IT support. If you are unsure of who your support contact is, contact the Division of IT Help Desk at help@colostate.edu or (970) 491-7276.
-
When does the GlobalProtect session time out?
The session may timeout after 3 hours if the device goes idle, is locked, or goes to a low-power mode. The maximum session length is 24 hours with continued use.
Currently, there is no warning letting you know that you will be disconnected or option to extend the session.
-
How often will I have to authenticate?
You will have to authenticate each time you connect to GlobalProtect through the desktop agent/client.
-
Why does my VPN disconnect when my computer goes to sleep or is in power saving mode?
When you have a laptop configured to go to sleep after a period of inactivity or hibernate when the lid is closed, many systems will also put their network adapters into a power-saving mode. To address this, you may need to adjust your power and sleep settings. Under Control Panel / Power Options, select Edit Plan Settings, then Advanced Settings. Find and expand the Wireless Adapter Settings, and ensure it is set to Maximum Performance for both On battery and Plugged in.
-
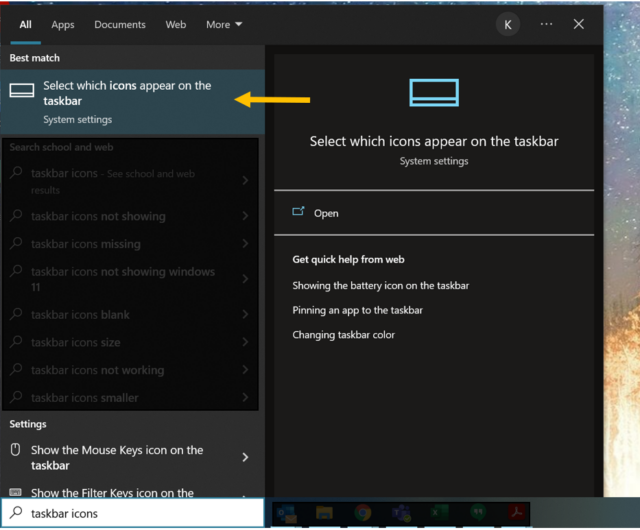
How do I make the GlobalProtect icon always show on my Windows Taskbar?
The GlobalProtect icon on Windows computers appears in the notifications (bottom right) area of the screen. Windows computers sometimes hide the icon. To make it always show, open the Start menu and type “taskbar icons” to search then choose “Select which icons appear on the taskbar.”
Next, locate ” GlobalProtect client” and turn it On .
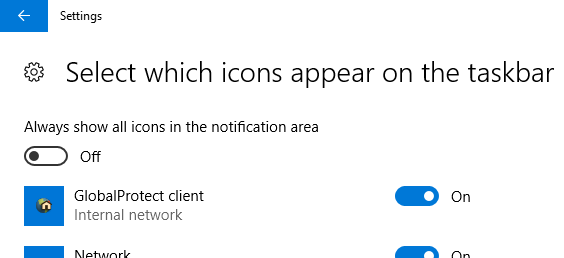
The GlobalProtect icon will then appear in the bottom right area of the screen:

-
Does GlobalProtect have a remote file browsing feature in the web portal?
No, the GlobalProtect web portal is only for resources that can be accessed via an application URL.
-
Does GlobalProtect offer remote terminal access in the web portal?
No, the GlobalProtect web portal is only for resources that can be accessed via an application URL. Use the GlobalProtect client/agent to access remote or terminal sessions.
-
Can I customize the applications available in the web portal?
No, the applications are configured at a system level and users cannot add or remove applications or icons.
-
Who can I contact for help?
If you have questions about using GlobalProtect, please reach out to your college or department’s IT support.
If you are unsure of who your support contact is, contact the Central IT Help Desk at help@colostate.edu or (970) 491-7276.
Note: The Division of IT can only support operating systems explicitly listed as supported by our current version of GlobalProtect in the Palo Alto Compatibility Matrix.
